Can Macs get viruses, and do they need antivirus?
Can Macs get viruses? Absolutely. All unprotected devices are vulnerable to malware and hackers — Macs included. And an infection can seriously risk your hardware and your private data. Below, you’ll learn about the viruses and vulnerabilities that affect Mac computers. Then, help protect your Mac with comprehensive cybersecurity software like Norton 360 Deluxe.


- Yes, Macs can get viruses: 5 common types to know
- Signs of an infected Mac
- Do Macs have built-in antivirus protection?
- How to protect your Mac from viruses
- How to remove a Mac virus
- What should I look for in Mac antivirus software?
- Help keep your Mac protected with Norton 360 Deluxe
- FAQs about Mac viruses
Yes, Macs can get viruses: 5 common types to know
Software and hardware vulnerabilities can affect all digital devices, no matter who makes them. Just because you’re working on a Mac, doesn’t mean that you are automatically protected.
Apple viruses can range from annoying to catastrophic. The first step to protecting yourself is to understand the types of computer viruses that are most likely to infect your Mac.
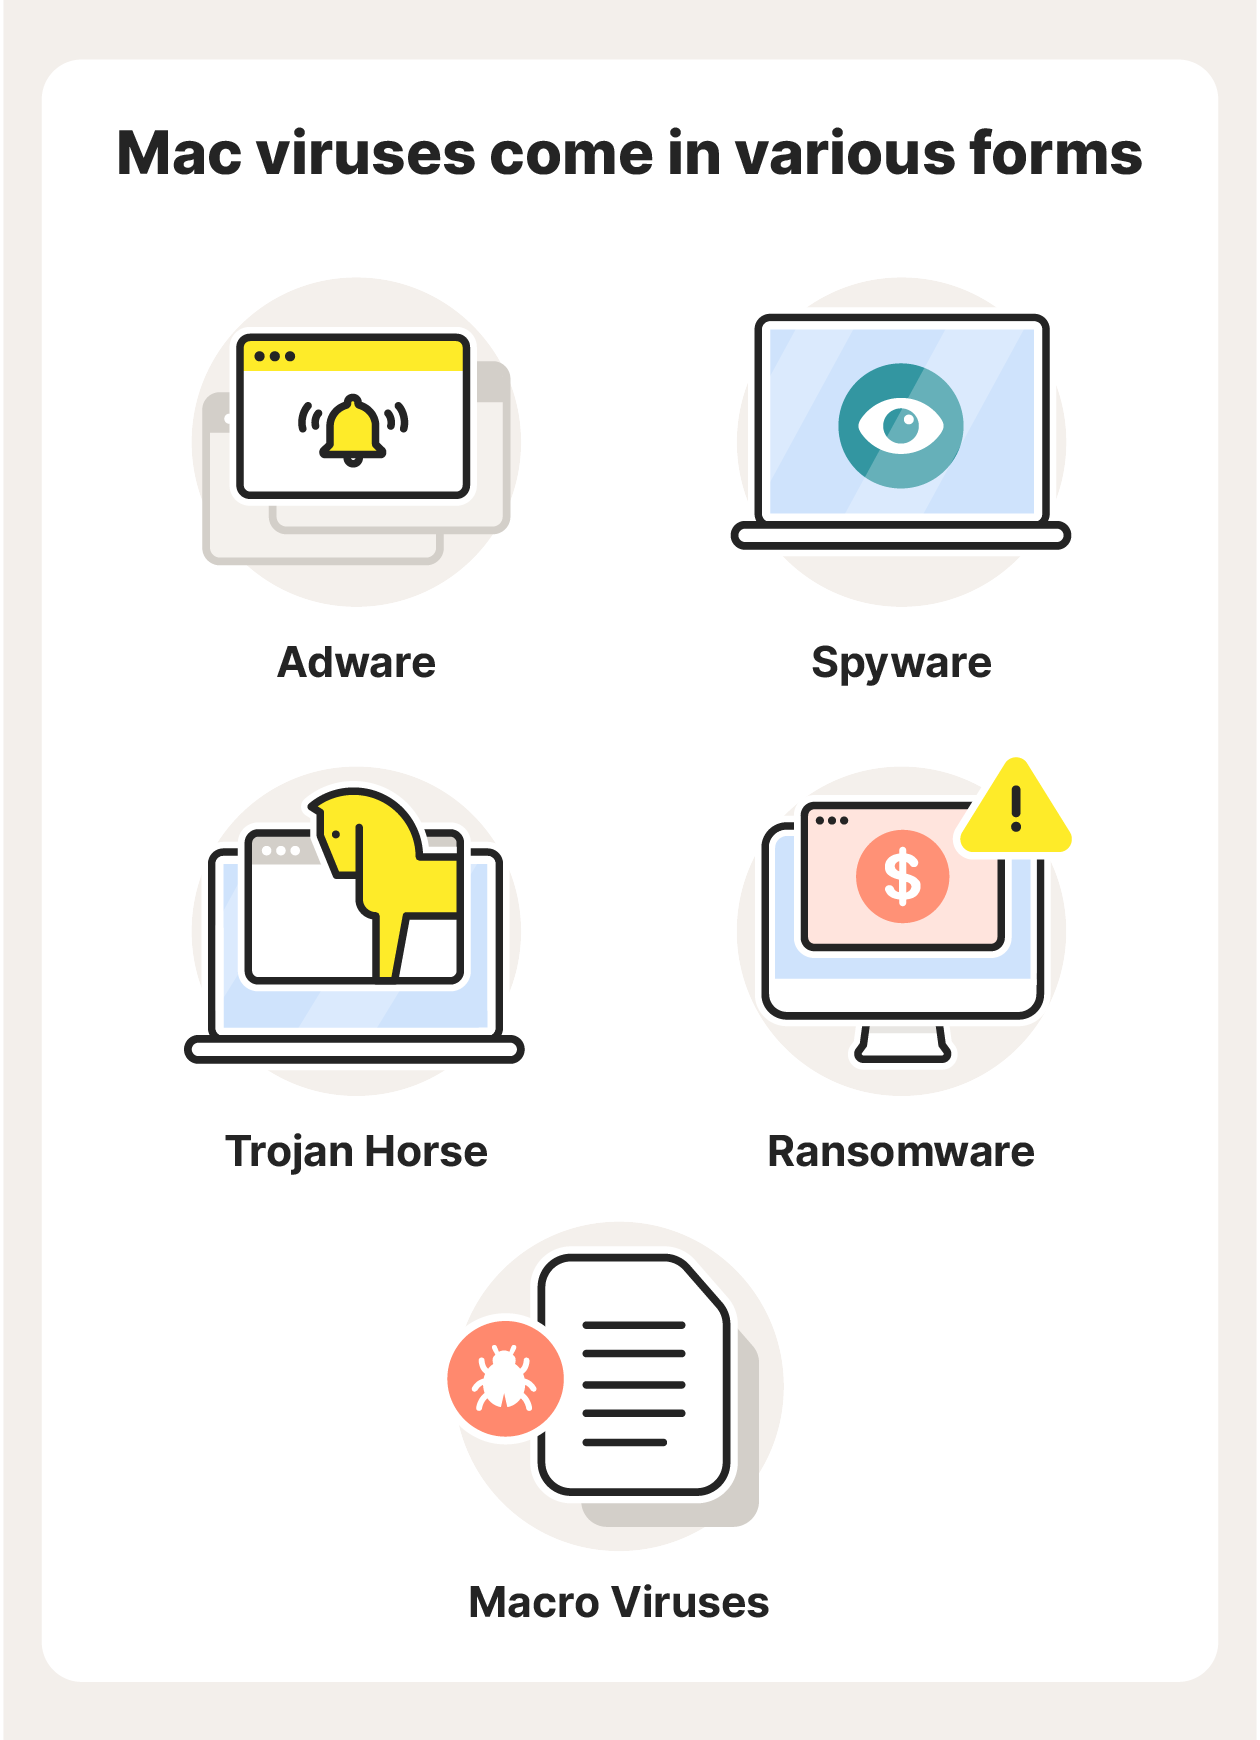
Here are five common types of Mac malware:
- Adware: Adware is a type of malware that bombards you with ads and pop-ups. Some adware pop-ups may lead to malicious websites when clicked.
- Spyware: Spyware is unwanted software that can monitor your activity without your knowledge. Spyware can record everything you do online, letting hackers see the emails you send, the websites you visit, and the passwords and usernames you enter.
- Trojans: A Trojan is a seemingly legitimate program that cybercriminals trick you into downloading on your computer. Then, when you click the download link or file, malware hidden in the Trojan is installed on your Mac.
- Ransomware: Ransomware locks your device and prevents you from accessing your data, apps, files, and more. The hackers responsible for the malware demand a ransom (often a payment in cryptocurrency) in exchange for unlocking your Mac.
- Macro viruses: Microsoft Word macro viruses run code on your Mac, triggering it to perform tasks without your knowledge. Macro viruses can create new files, corrupt data, send files, take screenshots, hack your webcam, and much more.
Signs of an infected Mac
How do you tell if your Mac has a virus? Here are a few signs that you may have fallen victim to an Apple computer virus.
- An increase in ads and pop-ups: If you’re being bombarded by pop-ups, a virus for Mac might be the cause. These include pop-up ads, banner ads, and pop-ups imitating messages from your Mac, such as a pop-up requesting you to download an update to your operating system.
- A slow or stuttering Mac: If your Mac is unusually sluggish, it may mean that malware is executing tasks behind the scenes. This can cause a significant slowdown, as your Mac is working a lot harder than you think it is.
- Browser problems: Did your browser suddenly change its homepage to something you’ve never seen before? If your browser is unresponsive or starts crashing regularly, you might have a Mac virus.
- Unwanted new apps or toolbars: If you suddenly see an app or feature on your Mac that you didn’t download, this is a sign that you may have a virus. Never open apps or use tools like this before performing an antivirus scan.
- An overheating Mac: Some viruses will overwork your Mac, harming its health. This can cause your computer to overheat and may lead to hardware damage. Under normal conditions, your Mac shouldn’t overheat. If that happens, you may have a virus.
It’s important to keep an eye out for signs of malware on Macs. But remember that many viruses don’t cause Macs to show ‘symptoms’. That means they operate in the background while you remain totally oblivious.
That’s why it’s critical to install robust cybersecurity software. Norton 360 Deluxe is an integrated suite of online security tools that help shield your Mac from malware and hackers. And it performs regular malware and virus scans to help identify and block malicious software before it can infect your computer.
Do Macs have built-in antivirus protection?
Mac computers come with a number of built-in features that protect users from viruses. While these features offer decent protection against Mac viruses, good cyber hygiene is still imperative.
Here are some of the built-in security features on Macs:
- XProtect: XProtect is Mac’s built-in antivirus software. It runs at all times in the background, performing scans and isolating threats. It’s your Mac’s first line of defence against malware.
- Malware Removal Tool (MRT): MRT works hand-in-hand with XProtect. When XProtect locates malware, MRT will attempt to remove the malware from your Mac.
- App Review, Notarization, and Gatekeeper: These three features work together to protect you from dangerous apps. App Review checks each app before it’s accepted on the App Store. Notarization scans for malicious content or issues and then generates a ticket that tells Gatekeeper it’s been authorised. Gatekeeper prevents your Mac from opening unauthorised apps.
- App Sandbox: Apple’s app sandbox is access control technology that limits every app’s access to system resources, which minimises damage if you launch a compromised app.
- File Quarantine: Mac OS X 10.5 and later will warn you if a file looks unsafe the first time you try to open it in Finder, Spotlight, or from the Dock.
- System Integrity Protection (SIP): SIP is a safety feature that prevents certain files and programs on your Mac from being modified. These include your computer’s core components, such as your operating system and the apps from the App Store.
- FileVault: FileVault, available on macOS High Sierra and later, encrypts the data on your hard drive so intruders can’t access your information, even if they get their hands on your files.
While the above Apple antivirus features are effective, they’re not foolproof and hackers are aware of them. Malicious actors create viruses on Macs to subvert these safety features, so certain viruses may slip through the cracks.
For example, XProtect identifies threats based on a database of existing malware. That means it may not be able to detect the latest Mac viruses, especially if you haven’t updated your computer recently. Add an extra layer of protection by downloading dedicated Mac security software like Norton 360 Deluxe.
How to protect your Mac from viruses
You don’t have to know much about IT or cybersecurity to protect your Mac from viruses. Following a few safety tips, practising good digital hygiene, and using security software will go a long way to ensuring that viruses and hackers can’t compromise your Mac.
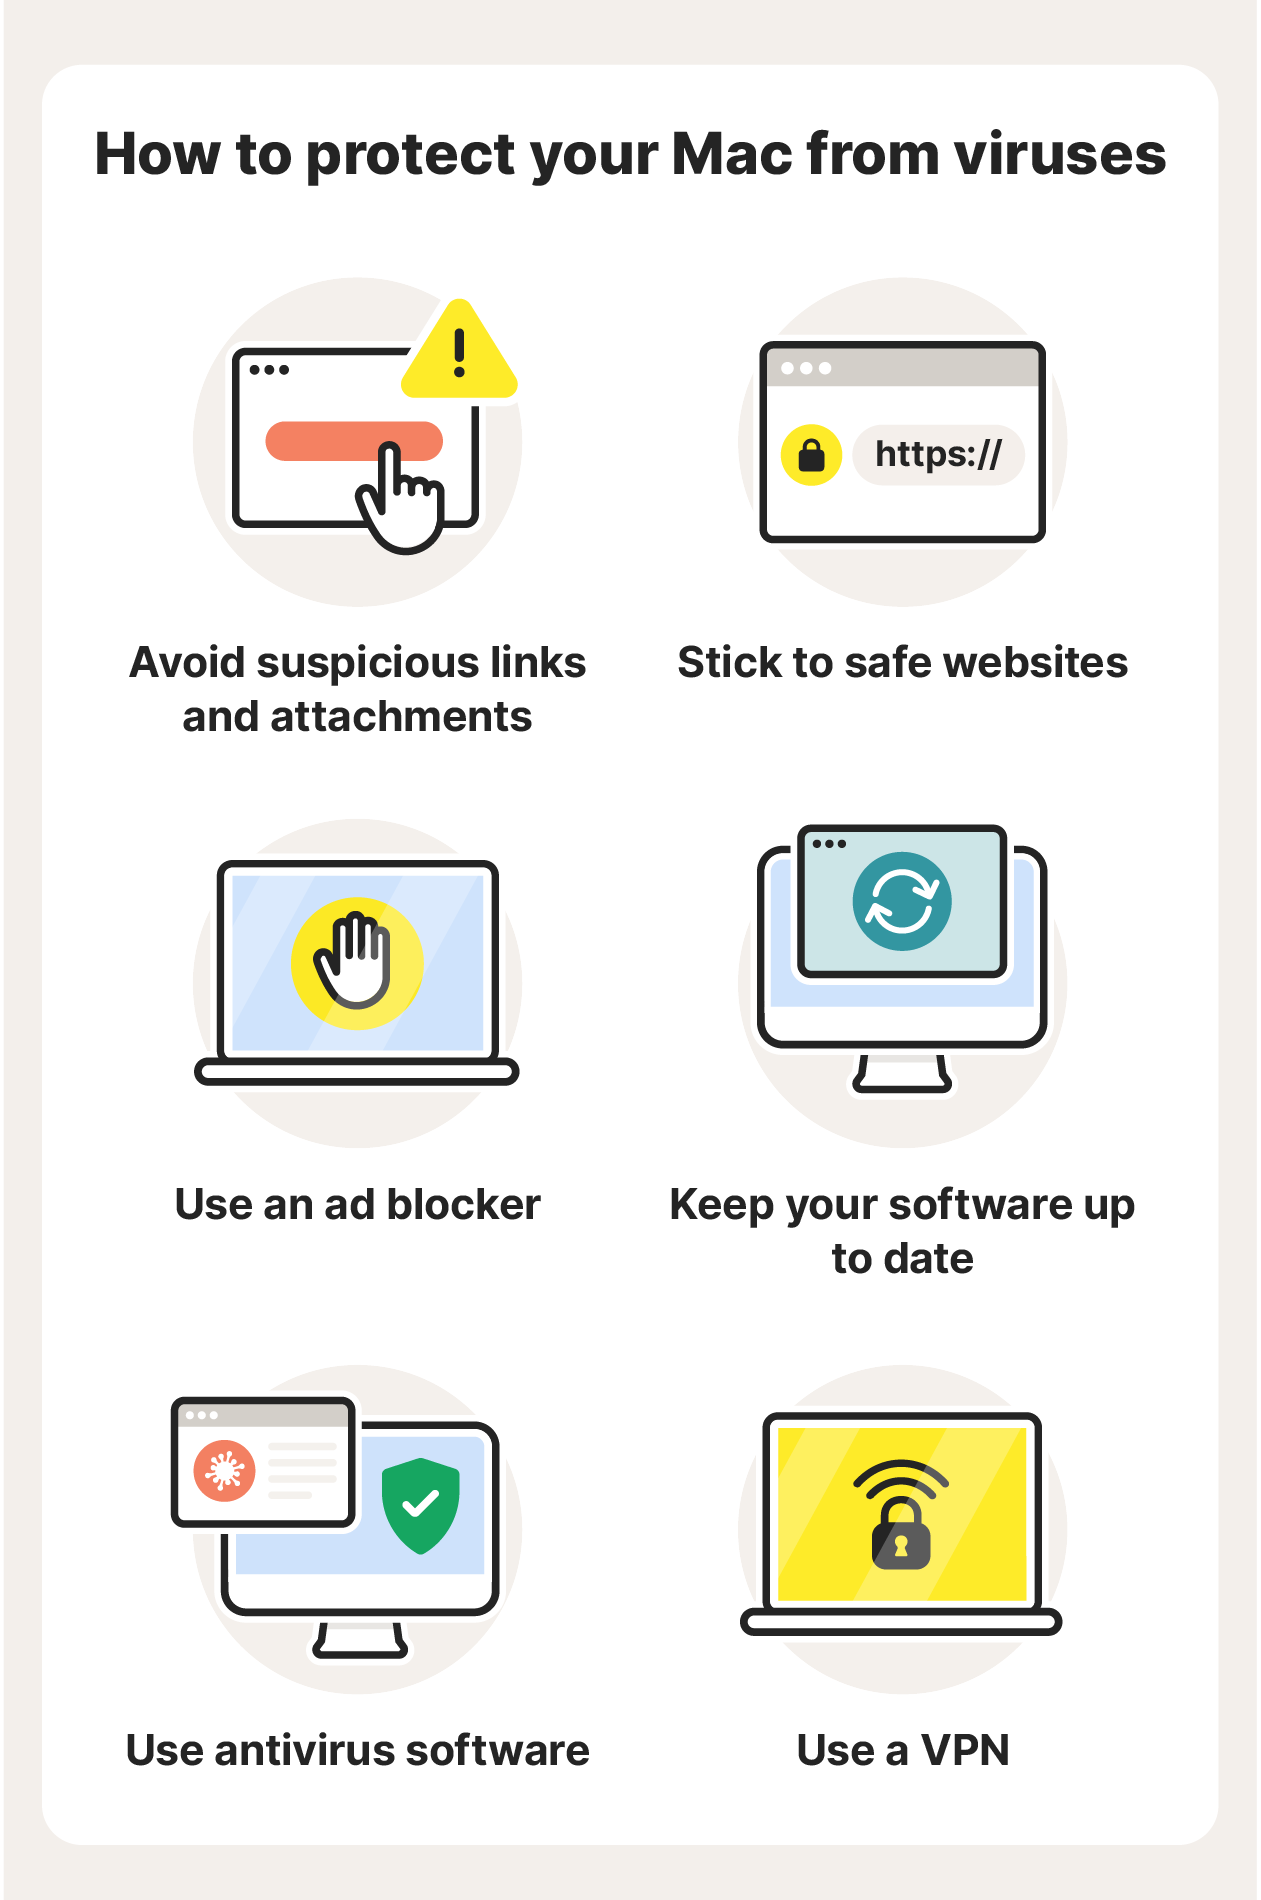
Here are a few tips to follow to protect your Mac:
- Avoid suspicious links and attachments: Never click links if you don’t know where they lead. Be extra careful of links sent via messenger apps like Facebook or WhatsApp. Hackers can easily imitate a friend or loved one to manipulate you into clicking a link. Opening attachments in spammy emails is also unsafe.
- Stick to safe websites: Malicious websites are home to malicious software, links, ads, and more. Make sure the site’s address (the URL in the search bar) starts with HTTPS and not HTTP. The extra “S” means the site is secure, but nearly all phishing sites use HTTPS so they’re not always safe. Look out for fake sites that imitate others and sites that ask you to download something.
- Use an ad blocker: Ad blockers prevent annoying pop-ups and banners, and they can also help keep your Mac safe from viruses. Some ads may be infected with malware, so blocking them can help keep you safe.
- Keep your software up to date: Software updates often patch vulnerabilities that could otherwise expose your Mac to the latest Mac viruses. Always keep your apps, programs, and operating system updated.
- Use a VPN: Whenever you use an unsecured network to connect to the internet, it’s possible that someone can track you — including hackers. A VPN hides your IP address and encrypts your connection to help you browse privately and protect the data you share online.
- Use antivirus software: Antivirus software reinforces your Mac against hackers, malware, viruses, and more. It provides constant protection by performing antivirus scans in the background.
Norton 360 Deluxe also includes many additional protections, such as a VPN, malicious site blocker, and parental controls. For up-to-date protection from Mac viruses as well as new and emerging threats, Norton 360 Deluxe is the Mac antivirus software for you.
How to remove a Mac virus
If you’ve detected a virus on a Mac computer, antivirus software like Norton 360 Deluxe can help remove it — where it can’t, our expert team will help do this for you as part of your subscription and our Virus Protection Promise*. But don’t wait for signs of malware on your Mac, download antivirus software now.
What should I look for in Mac antivirus software?
Antivirus software is critical to keeping your Mac safe from malware, spyware, and other infections. Look for the following features in antivirus software for Mac:
- Antivirus protection: This feature shields your Mac from viruses and removes viruses that are detected. It’s the basic functionality of antivirus software.
- Antivirus scanning: To identify threats quickly, an antivirus should frequently scan your Mac for viruses, suspicious files, apps, and more.
- Virus protection guarantee: If you’re paying for your antivirus software, it should include a virus protection guarantee that your Mac will not get infected, and if it does that the virus will be removed for free.
- Cloud backup storage: Viruses can corrupt, lock, or destroy your data. A backup ensures you can get your files back in the event of a breach.
- A VPN: A VPN encrypts your online connection. This is a key component of cybersecurity as many types of hackers can gain access to devices via unsecured networks.
- A password manager: A password manager helps you create and store secure passwords. It may also inform you if your password has leaked and needs to be changed.
- Dark web monitoring: This is an advanced privacy feature that scans the dark web for your personal information, letting you know if your details have been found.
Antivirus software with the above features, like Norton 360 Deluxe, will provide your Mac with the extra layers of security you need to stay safe from hackers, malware, and viruses.
Help keep your Mac protected with Norton 360 Deluxe
Norton 360 Deluxe provides advanced online protection that goes well beyond the capabilities of your Mac’s built-in antivirus protection. Plus, it includes a number of other cybersecurity features, such as a VPN, cloud backup, and Dark Web Monitoring**. Get ironclad virus protection for your Mac today with Norton 360 Deluxe.
FAQs about Mac viruses
What is the history of Mac viruses?
The first virus on a Mac, Elk Cloner, was released in 1982 and was a harmless prank by a 15-year-old. The most recent is Hidden Virtual Network Computing (HVNC) malware, which can take total control over a user’s Mac with potentially serious consequences.
Do Macs get viruses from Safari?
The Safari app can’t give your Mac a virus, but you can get viruses if you land on malicious websites while surfing the web on Safari. You could encounter infected sites, dangerous links, unsafe attachments, and malicious files while on Safari. Practice good web security practices no matter which browser you use.
Can Macs get hacked?
Yes, Macs can get hacked. Hackers are skilled at gaining access to unprotected Apple devices. Mac users should always prioritise cybersecurity and make sure they have strong antivirus protection.
Do Macs need antivirus software?
While Macs are less susceptible to infection than PCs, Craig Federighi, Senior Vice President of Software Engineering at Apple, acknowledged having ‘a level of malware on the Mac that we don’t find acceptable’. Antivirus software will help prevent malware for Macs from infecting your machine.
*Virus Protection Promise: You must have an automatically renewing device security subscription with antivirus for the virus removal service. If we are unable to remove the virus from your device, you will be entitled to a refund based on the actual price paid for the current term of your Norton subscription. Proof of purchase may be required if the subscription is purchased from a third-party. Any refund will be net of any discounts or refunds received and less any applicable taxes, except in certain states and countries where taxes are refundable. The refund does not apply to any damages incurred as a result of viruses. See au.norton.com/virus-protection-promise for complete details.
**Dark Web Monitoring is not available in all countries. Monitored information varies based on country of residence or choice of plan. It defaults to monitor your email address and begins immediately. Sign into your account to enter more information for monitoring.
Editorial note: Our articles provide educational information for you. Our offerings may not cover or protect against every type of crime, fraud, or threat we write about. Our goal is to increase awareness about Cyber Safety. Please review complete Terms during enrollment or setup. Remember that no one can prevent all identity theft or cybercrime, and that LifeLock does not monitor all transactions at all businesses. The Norton and LifeLock brands are part of Gen Digital Inc.


Want more?
Follow us for all the latest news, tips, and updates.